How to Wash Your Shoes in the Washer

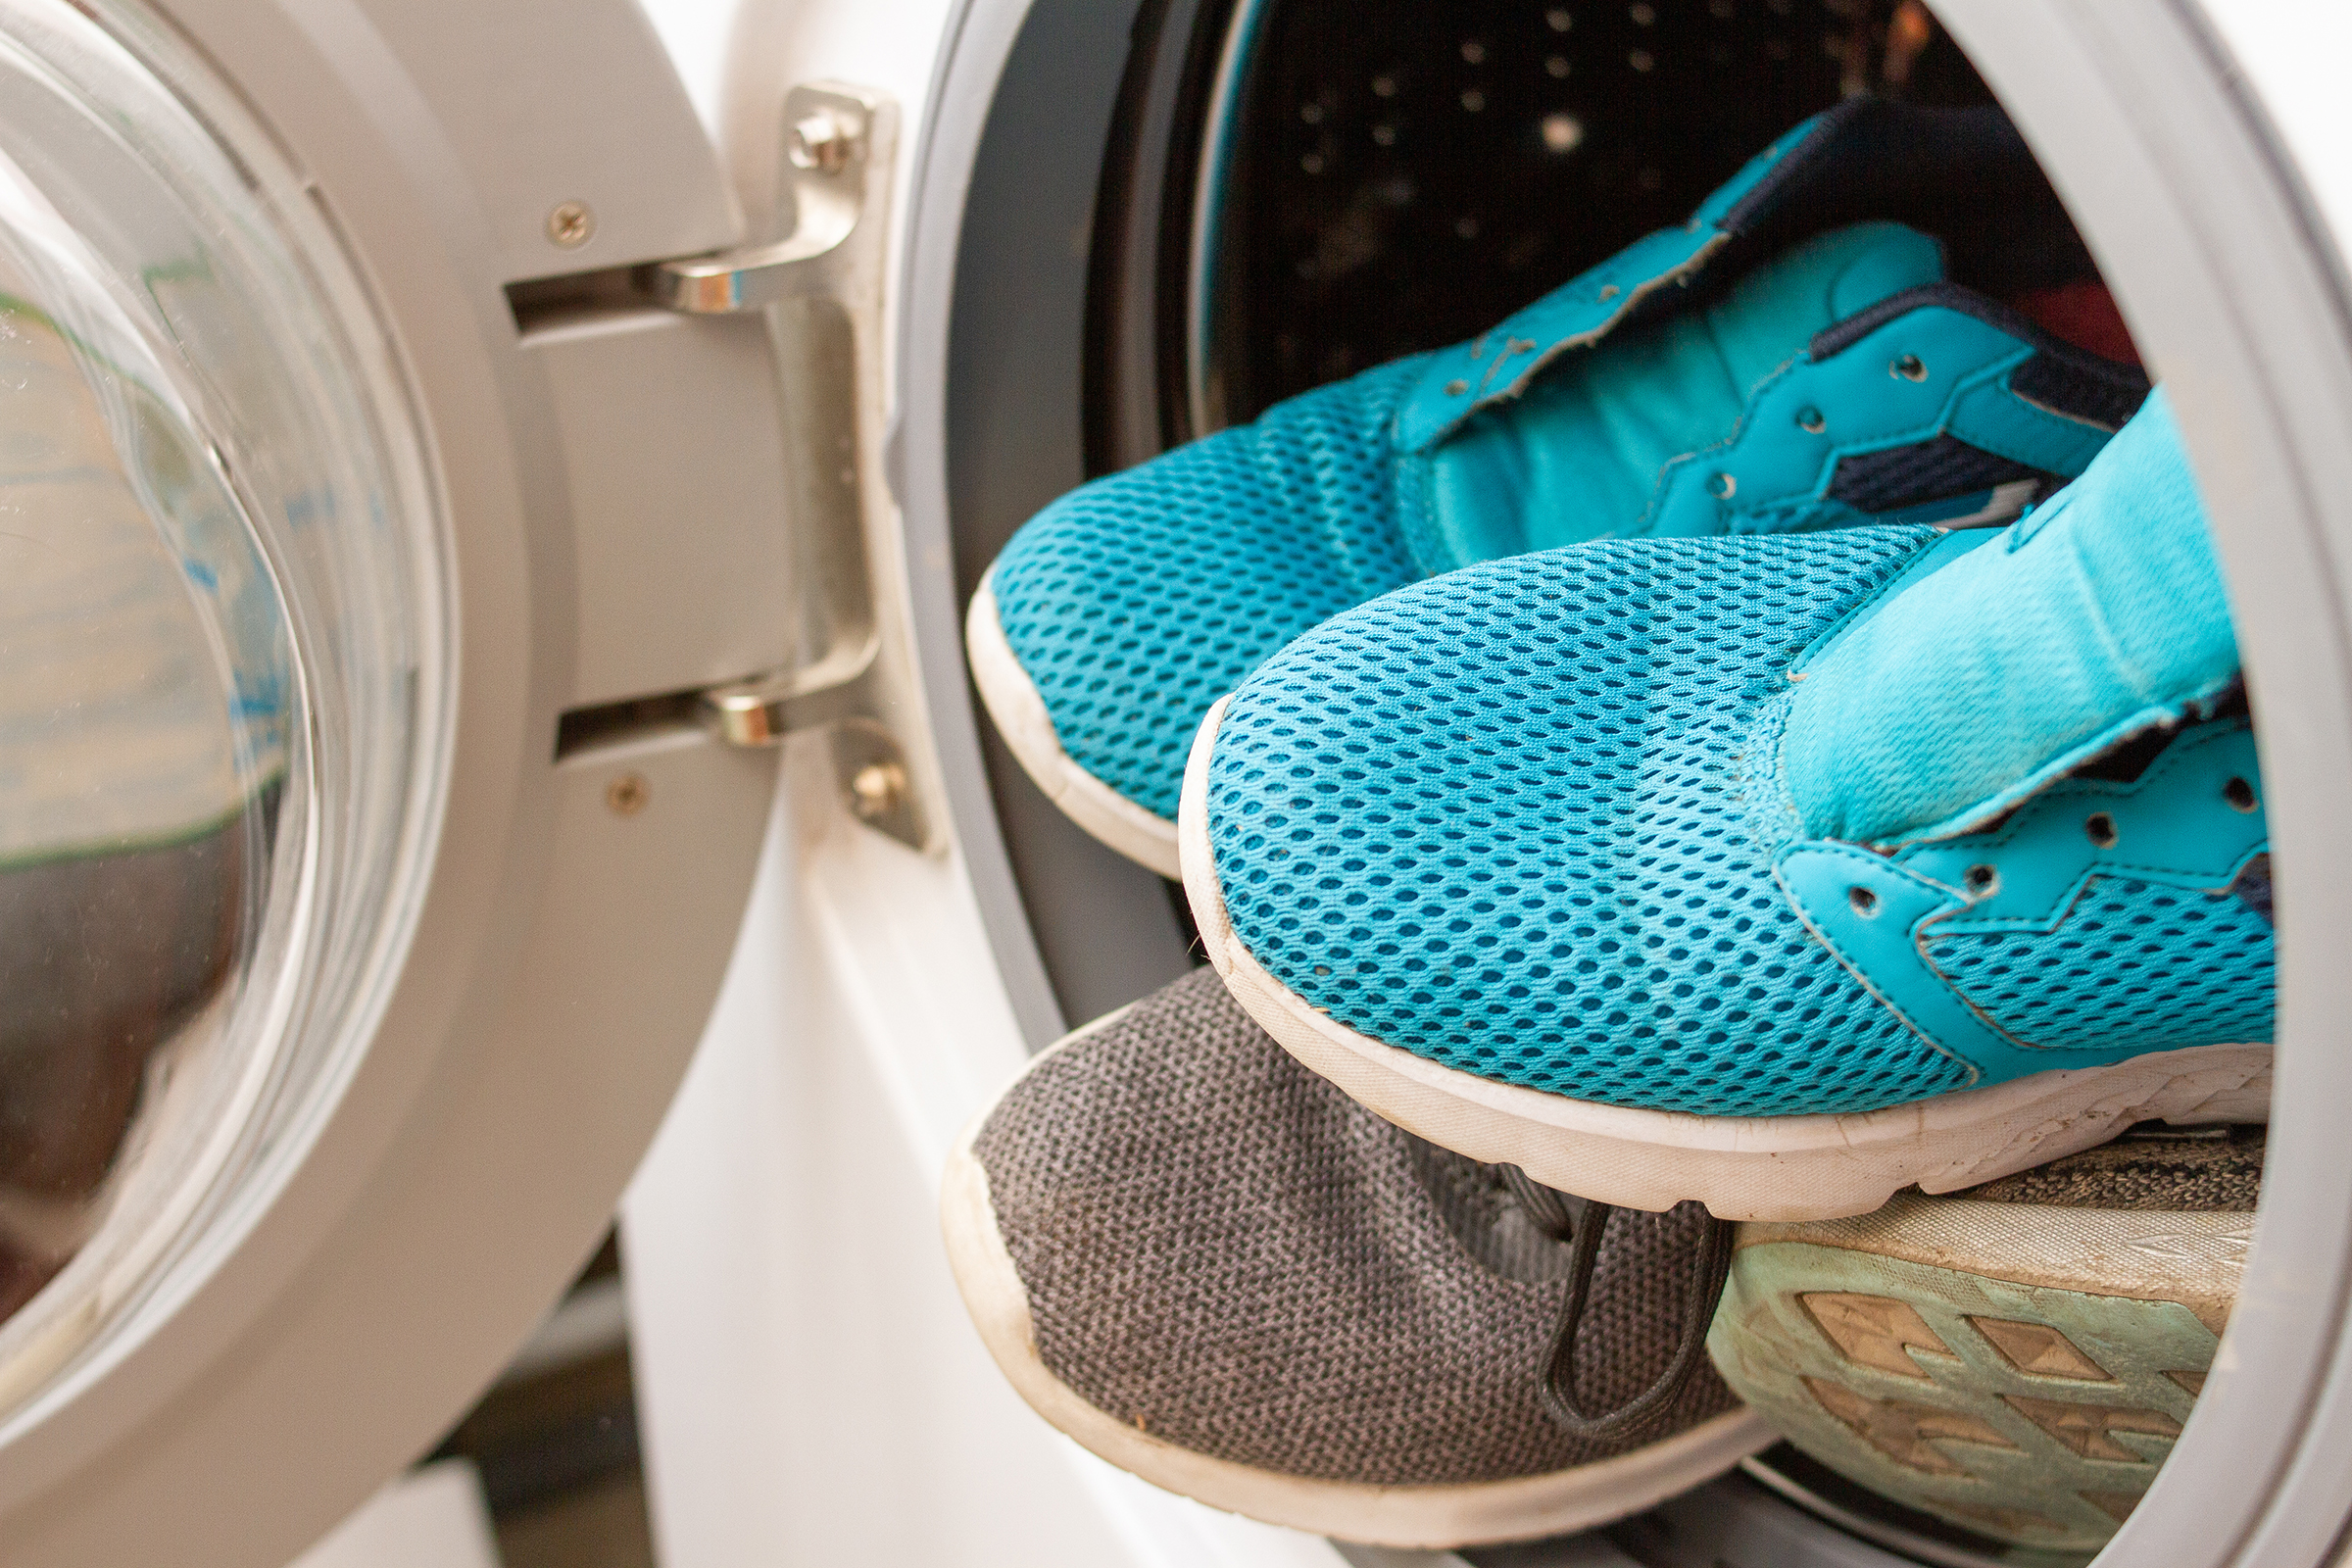
Whether you just walked home through some muddy snow or just want to keep your favorite pair of shoes looking like new, tossing your shoes in the washer can be a quick and easy way to clean them – as long as they are the right material.

Is it safe to use the washer?

First start by checking the care instructions for your shoes to make sure it’s safe. In general, if your shoes are made from nylon, cotton, polyester or canvas, they are more than likely safe to wash with detergent in the washer.

If your shoes are made with another material such as leather, rubber, suede or vinyl, you should NOT place them in the washer. Any shoes that are extra delicate should be taken to a shoe repair shop or cleaned by hand.

How to Wash

Now that you’ve determined your shoes are safe to throw in the washer follow these steps:

  1. Remove laces and insoles to wash separately – It is recommended to wash the insoles by hand by using a soft brush and soapy water. Shoelaces can either be washed by hand or placed into a garment bag, so they don’t become tangled or potentially damage the machine.
  2. Remove any excess dirt or other material from your shoes including the soles. You can use a toothbrush or any soft brush to remove excess dirt or scuff marks before placing your shoes in the washer.
  3. Place your shoes in a closed garment bag – It is recommended to add a few old towels or t-shirts to the load to help balance the machine while the drum is spinning.
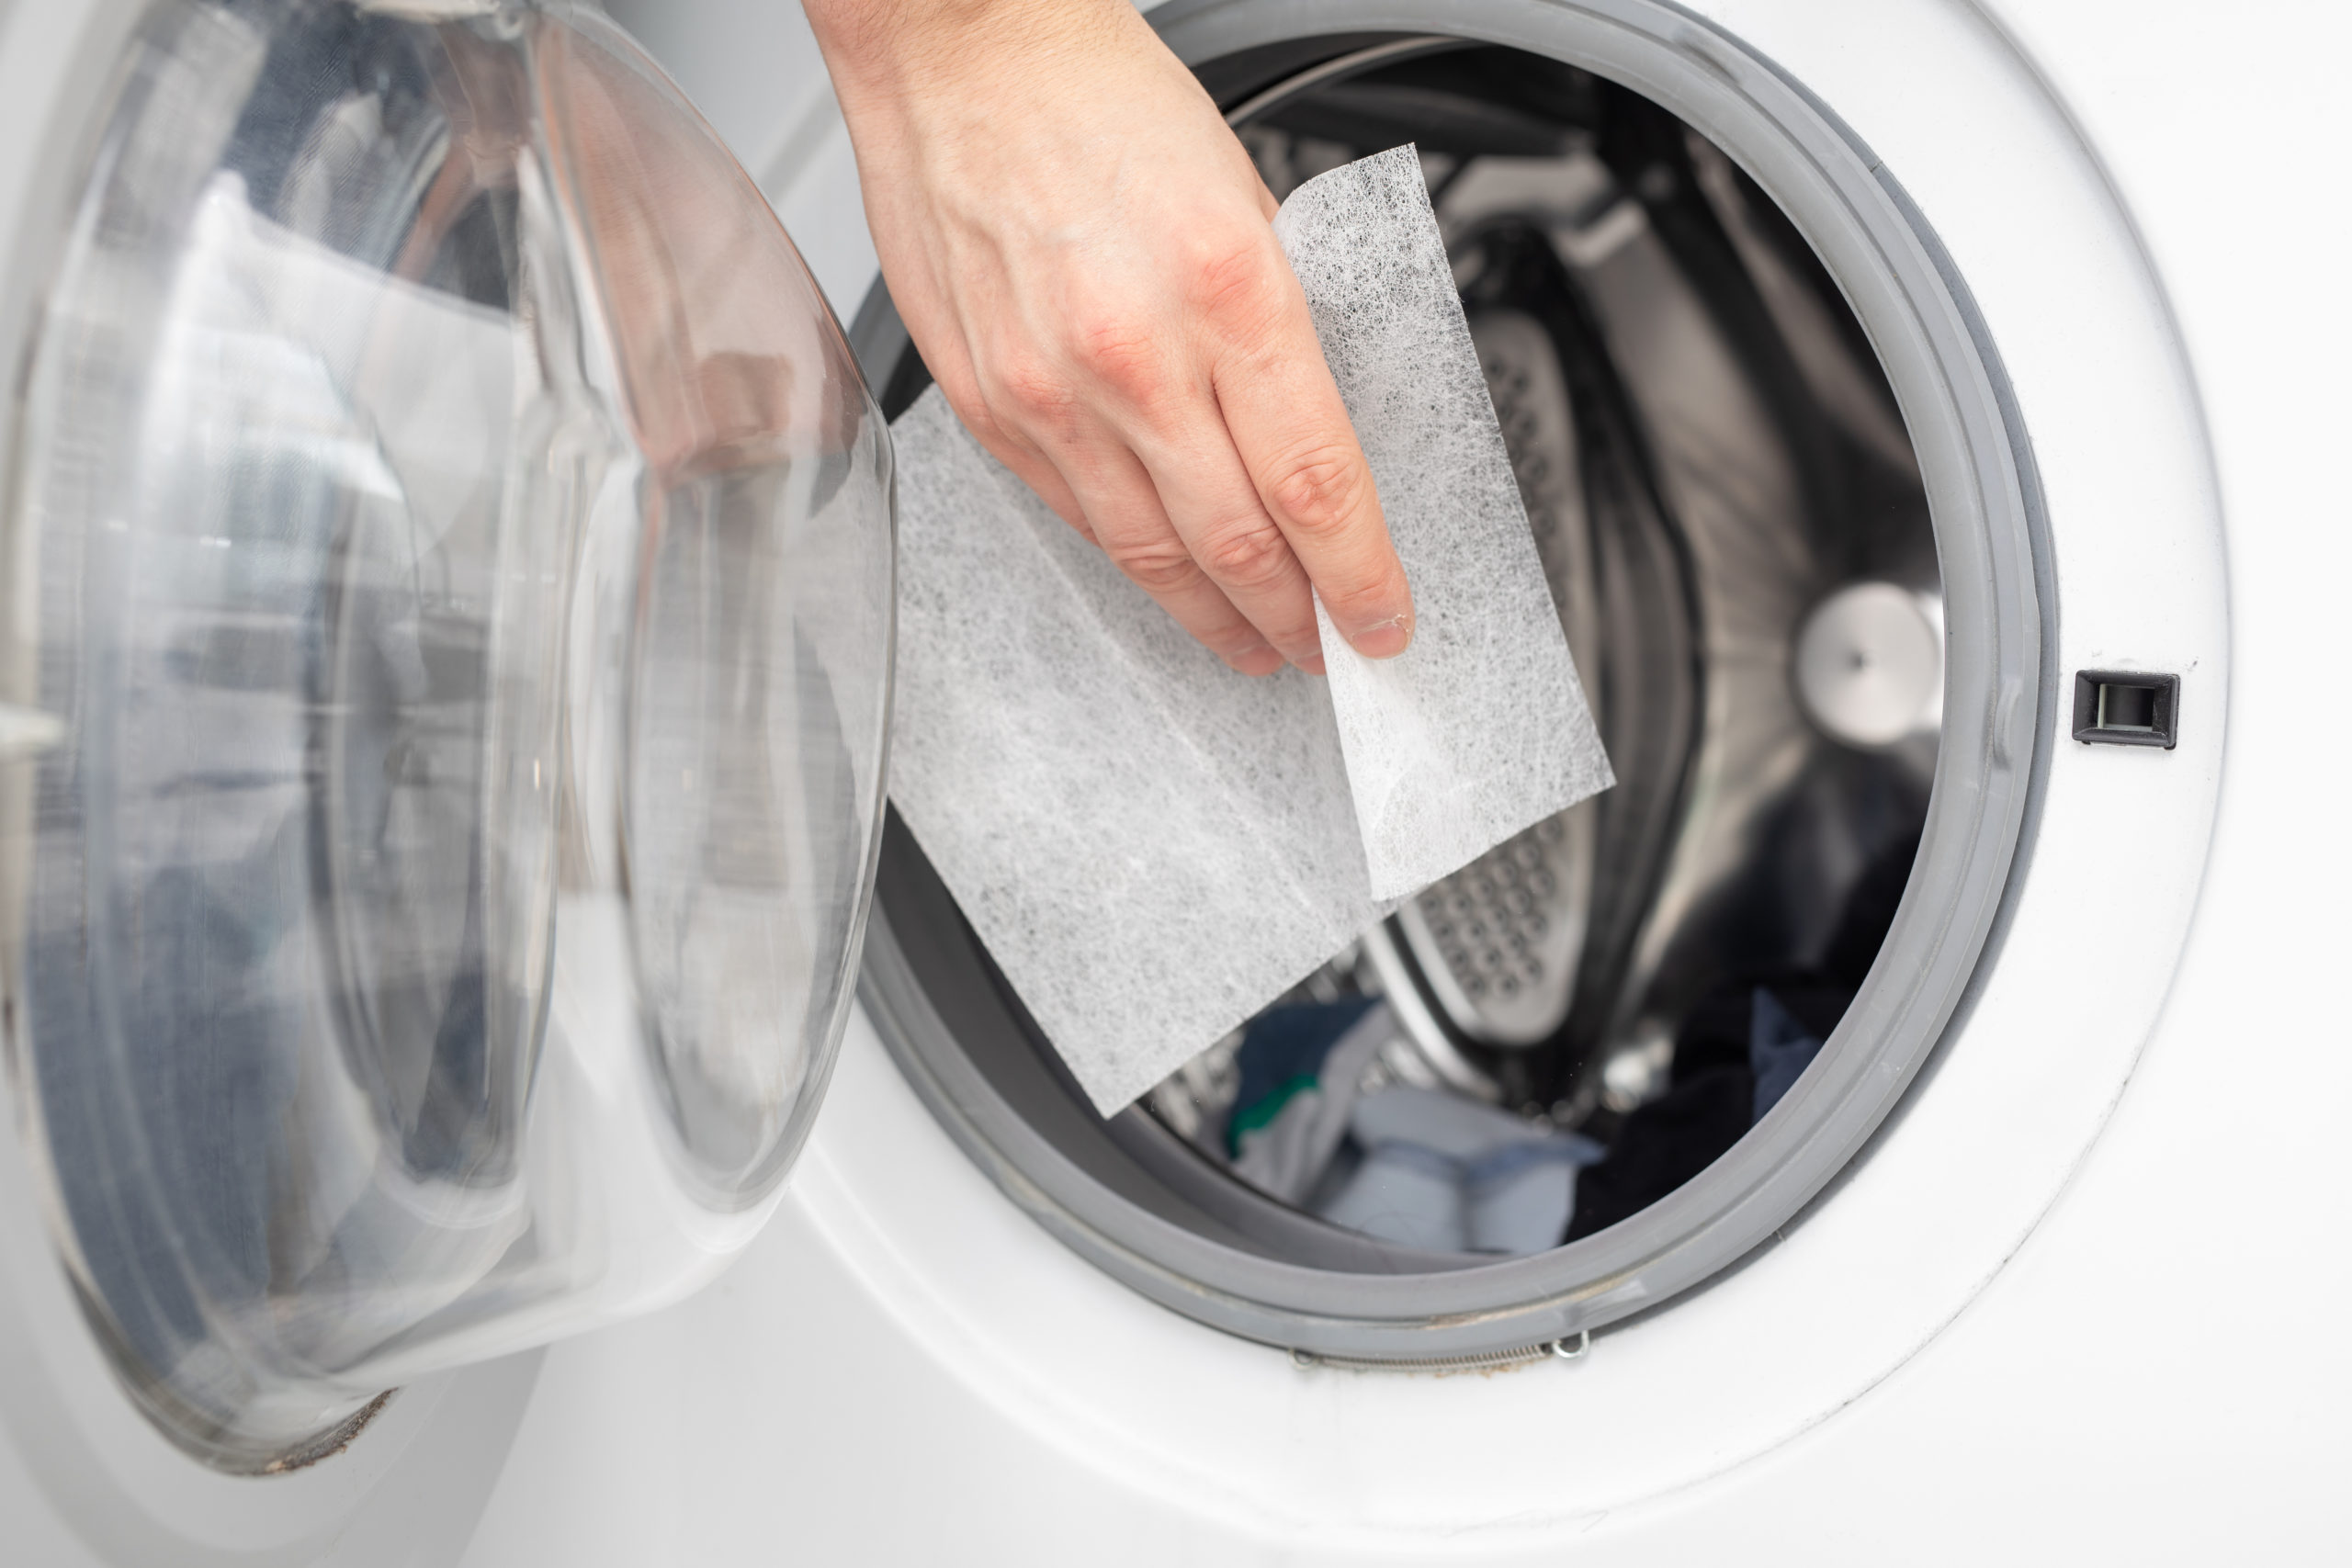
  4. Wash on the ‘delicate’ washer setting with cold water and select a ‘no-spin’ option if available. Be sure to use liquid detergent or laundry pods rather than powder detergent if possible.
  5. Remove your shoes and allow them to air dry overnight or until they are completely dry. Do not put your shoes in the dryer.

That’s it, just re-insert your insoles and lace up your shoes and you’ll be on you’re on your way. We hope you found these tips useful and can follow them again and again to keep your shoes looking their best!

Why to Wash New Clothes Before You Wear Them

Are you someone who likes to wear new clothes straight from the store or the delivery package, without washing them first? While it might be difficult to resist the perfect feel of wearing new clothes, it is recommended that any clothing worn in direct contact with your skin (especially things like underwear, t-shirts or shorts) be washed before wearing. Here’s why:

New clothes can be home to pathogens or germs.

After clothes are made in a factory, they are packaged and sent from one place to another through various modes of transport before they reach the store. In this process, your new clothing item may have encountered pathogens and germs along the way. While you may not be able to see these microscopic organisms, but that does not mean that they don’t exist.

New clothes may have lingering bacteria.

Depending on how long clothes have sat in the store, and how many people have tried them on, it is possible that bacteria can linger in the fibers and be transferred from one person to another through the fabric.

New clothes can contain chemical irritants.

Many manufacturers include chemical finishes on clothes to enhance their texture and reduce wrinkles, which can irritate sensitive skin.

New clothes can transfer dye to your skin.

Fabrics made from synthetic fibers can be colored with dyes that can be transferred to your skin or other garments leading to irritations or stains.

Running your clothes through the wash cycle a second time without the soap will help get rid of any residual detergent and help your clothes last longer. You’ll be amazed at how much soap is still in the drum during this second “wash.”

While you likely will not experience any serious health issues by not washing clothes before wearing them, more than anything – washing clothes before wearing is just good personal hygiene. Before washing, make sure to follow the instructions on the care tag.

Bathroom Essentials to Wash More Often

Here’s What to Wash from Your Bathroom and Why.

While experts recommend washing your bath towels every few days to keep them fresh & clean, here are three other bathroom essentials you should consider washing more regularly.

1. Bathmats

Whether they’re in front of your sink or next to your tub or shower, the mats in your bathroom spend a lot of time on the floor in one of the most high-traffic germ areas of your home. For this reason, it is recommended that you clean them once a week. For best results, take bathmats outside and shake out any clinging dust or debris prior to loading them in the washing machine. Make sure to follow the manufacturer care instructions on the label and air-dry them if they have a rubber coating or backing.

2. Fabric or Plastic Shower Curtains

Since fabric shower curtains don’t often come in direct contact with shower water, washing them every several months is usually enough to keep them looking clean. Before you place them in the washing machine, check the tag to make sure the material is washable. Then remove the curtain off the rings or hooks, use a minimal amount of detergent and then hang it back on the rod or rings to air dry.

And while plastic shower curtains and liners may be more affordable and easier to replace when they get dirty or accumulate soap scum, the cost can add up over time. Instead of throwing them away, you can extend the life for months or years by washing them. Because liners come in direct contact with water and soaps, they should be cleaned more often. Once a month is recommended to stay ahead of any mold or mildew growth. Make sure to switch the washer settings to cold and add a bath towel or two to the machine to prevent the curtains from wrinkling. After washing, make sure to air dry – so that it doesn’t melt in the dryer.

3. Scrubbing Poufs & Loofahs

Yes, you read that right! Whether natural or synthetic, bath and shower sponges, poufs, loofahs, or exfoliating scrubbers can provide the perfect environment for bacteria – and should be washed on the regular. Whether you decide on weekly or monthly, make sure to put these scrubbing devices in a mesh laundry bag with a load of other bath towels – then leave them to air dry.

While bathrooms are where we all go to get clean, they can also be home to lingering germs, molds/mildew, and bacteria – which is why experts recommend washing more than just your bath towels on the regular. Before washing bathmats, shower curtains or scrubbing tools, make sure to follow the instructions on the care tag.g germs, molds/mildew, and bacteria – which is why experts recommend washing more than just your bath towels on the regular. Before washing bathmats, shower curtains or scrubbing tools, make sure to follow the instructions on the care tag.

Speed Up Laundry Day

The title of this article is a bit misleading— having a laundry day is not a real option if you really want to speed things up. If you think in terms of one laundry day a week or every other week, then you should get that notion out of your head! The key is to stay on top of it, every day. If doing laundry every day sounds like your worst nightmare, hear us out! Once you build the habit, it will become second-nature to you and will save you so much time overall. And who doesn’t want more time?

Establish a routine. The best way to speed things up is to have a method so that you never have to think about what to do next. Do laundry the same way, every day, every time, and it will seem like a breeze.

Always treat stains ASAP. Don’t put stained clothes to the side and think that you’ll get to them later. Chances are, that stained pile will build up, and it will take forever to treat all the stains. Instead, take care of that red sauce stain on your shirt when you take it off at the end of the day.

Make a pre-sorting system. Sorting all your clothes when you only have one laundry day is a gargantuan task. You could be doing laundry for 30 minutes before you even throw anything in the washer! A popular way to pre-sort is by using three different hampers for whites, colors, and dedicates.

Bag your socks. Socks are by far the most frustrating things that go through the laundry. They tend to disappear or get stuck inside other clothes, much to your irritation. A great way to keep track of them is to put them inside a lingerie bag, so you’ll never lose them again!

Check for a quick wash setting. Your machine may or may not have a quick wash setting. If so, it can cut your laundry cycle time in half! Toss in your clothes, have some breakfast, and your clothes will be clean and waiting for you when you’re done eating. Obviously, for especially smelly or dirty clothes, you’ll want to use a normal setting, but quick wash works great for lightly dirty clothes.

Get clothes out of the dryer immediately. The heat from the dryer will work out any wrinkles, so if you get your clothes out right away, you won’t even have to iron! This will save you so much time since ironing is not a quick task.

Tips for Using a Dryer

If you are an adult, you definitely know how to operate a dryer. But do you really get the most out of it? Day-to-day routines have a way of turning into habits, and it can be easy to settle for doing things the way you’ve always done them. If you are looking to ramp up the efficiency of your laundry routine, a great place to start is the dryer.

You may already do several of these things, but chances are that one of the following tips will help you save time, money, or the quality of your clothes.

Don’t overstuff the dryer
Clothes dry best when they have enough space to tumble, so overloading the dryer makes loads take longer and use more energy.

Pay attention to the settings
Different fabrics dry best at different temperatures and tumble speeds, so take time to learn the settings on your machine to preserve the life of your clothing

Take clothes out immediately when the cycle ends
If you let clothes sit in the dryer for a long time after the cycle ends, they will develop wrinkles and static

Shake out wet clothes
This helps reduce wrinkling and allows items to dry faster

Dryer sheets help reduce static
Dryer sheets are a great way to get softer, better-smelling clothes, in addition to eliminating static cling

Separate lightweight and heavyweight clothing items
Ensure that the load dries at the same time by grouping items by weight, to save you from running items from one load for multiple cycles

Dry several loads in a row
By running multiple loads back to back, you save time and energy since the dryer is already heated up

Wipe off the moisture sensor
Residue from dryer sheets can block the moisture sensor, leading to longer drying times

Clean out the lint trap
Lint clogs can also negatively alter drying time and get stuck on clothes

Improve Your Laundry Time with these Hacks

You might love or hate your laundry routine, but either way, there’s always some room for improvement! Check out these tips to help you save money, time, and reduce your environmental impact.

Cold wash
It seems simple, and it is. Just wash your clothes on cold, every time. It will keep the colors popping and save you money on energy bills.

Tennis ball trick
Eliminate static and help clothes dry better by throwing two tennis balls in the dryer. They will keep clothes from sticking together and drying unevenly.

Pre-sorting
I know it sounds tedious, but sorting your clothes into three hampers for whites, colors, and delicates will save you so much time on sorting and folding after the wash. Form the habit of presorting, and eventually, it will seem like second-nature.

Essential oil spritz
Do you love the smell of lavender? Well then put a couple drops of lavender essential oil into a spray bottle filled with water to give your clothes a spritz before the wash.

Lingerie bags for socks
Socks seem to vaporize into thin air when they go through the laundry. Don’t lose another one by putting all your socks into lingerie bags, so you’ll always know where to find them.

Dry erase marker magic
How many times have you accidentally thrown a hang-dry item into the dryer, only for it to shrink two sizes? Avoid this mistake by writing on the washer with a dry erase marker everything you don’t want to put into the dryer, so you or your spouse won’t forget again!

How to Use Laundry Detergent Correctly

What if you learned that you could increase the lifespan of your washing machine, preserve the quality of your clothes, and save yourself a little cash in the process? You’d be crazy not to listen, right? Well, this isn’t just a fanciful thought: by making one small change in your laundry habits, you can enjoy all of these benefits.

It’s really simple: cut back on the detergent! In just four steps, you can make your laundry practices significantly more efficient and effective.

  1. Select a type of detergent. There are three main forms of detergent: self-contained packets powder, and liquid. Figure out which one is best for your machine by consulting the manual. Typically, high-efficiency (HE) washers require a special type of detergent, since regular ones will damage the machine and cause it to smell musty. Otherwise, you will have a choice, so pick your favorite!
  2. Gauge your load size. The amount of detergent you need is directly related to the size of your load. If you throw in the same amount of detergent for every load, your clothes likely have a soapy film on them and will wear out faster. A good rule of thumb for estimating your load size: a quarter full is small, half-full is medium, and full is large.
  3. Calculate how much detergent you need. Check your detergent’s packaging to see how much is recommended for each load size. Make sure you also measure the soap correctly—for instance, not mistaking teaspoons for tablespoons. More soap does not mean your clothes will be any cleaner, and in fact, it could degrade them rapidly.
  4. Administer detergent properly. Frontloading washers and HE washers are simple to use; throw in the clothes, add detergent on top, and you are good to go. Top-loaders are a little different. For best results, let the drum fill with water first, then pour in the detergent, and finally add the clothes. This is so that the detergent can be evenly distributed before the clothes are thrown in.

These four steps can really make a difference for you. Detergent can be expensive, so this is how you can make it last longer. You will probably notice the difference for your clothes and machine as well! If you’ve been using too much detergent for a long time, then you might first need to clean out your machine thoroughly. This is simple, too—just run an empty load and add 3/4 cup of white vinegar to the hot water.

How to Remove Grass Stains

One of the most resilient types of stains is grass stains. And they are easy to come by, especially for children. They might have been sliding all over a soccer field or playing with a dog in your yard, rolling around on the ground. But, children aren’t the only ones with grass stains – adults can easily pick them up as well when playing in a softball league or re-sodding the front lawn. Whatever you’ve been up to in life, chances are you’ve been confronted with your fair share of grass stains and need a foolproof method of getting them out.

Why grass is so tough

You might be wondering why grass is so hard to get out of your clothes in the first place. It isn’t a colorful liquid-like juice that could soak and dry in clothing, so why does it tend to stick around? The components of grass, when they come into close contact with clothing, act almost like a dye. The pigments of grass actually bond with the fibers in your clothing, essentially dyeing them a
different color.

Grass stain removal techniques

You can’t simply throw grass-stained clothes in the washer and dryer and hope it’ll do the trick. But, fortunately, there are many products and substances readily available that can knock the grass stain out for good.

  • Liquid or powder detergent containing enzymes, bleach, or both (Tide or Biz works great)
  • Bleach combined with hydrogen peroxide and cold water
  • White vinegar and warm water
  • Rubbing alcohol
  • Molasses
  • Amyl acetate (also known as banana oil)

Whichever of the above that you have on hand to use, the process is about the same. Take whatever solution you have and apply it directly to the stain, working it into the fabric gently. You can use a toothbrush to apply the substance; just be sure not to rub too hard, since you could rub the stain in even deeper. After letting the clothes sit for several minutes (15-30 is a good rule of thumb), rinse them with water and wash them normally. If the stain isn’t completely gone, repeat the same steps or try to use a different solution until there is no more green.

to top